今天再一次被坚果云气到。我平时制作的视频封面,都是一张张图片,我将它们都存到一个文件夹里。然后使用坚果云同步到云端。其实主要是做一个备份,万一电脑真的出了问题,我还可以换设备,从网络上下载回来。
23 年的某一次更新,导致坚果云现在的同步文件夹,都只能在一个特定的文件夹下。例如我使用的是 Mac,它在 $HOME/Library/CloudStorage/
而在此之前,我们的同步文件夹,是可以在其它地方的。比如我「下载」文件夹下有一个 A 文件夹,「文档」文件夹下有一个 B 文件夹,我是可以使用坚果云来同步 A 和 B 的。去年的这次更新我是很不满的,但是没办法了,不满也没用,忍着用呗,用着用着就习惯了。
现在说回来,我现在电脑有一个同步文件夹,存放的都是图片。图片放进去后,坚果云默认开启一个「不占用电脑空间」的功能。也就是把我图片上传云端后,就将图片从我电脑删除掉,那个位置只放一张缩略图。
比如原本是一张 1.8MB 的图片,这样操作后,剩一张 4KB 的缩略图。
这个功能是不错,可能对有些人来说非常有用。但是,我其实不怎么用得着。毕竟我没有存放一堆的图片,电脑给占用几百 MB 我不怎么在意。
所以我是想着关闭这个功能的,但是,它好像在 Windows 端才有关闭的功能。
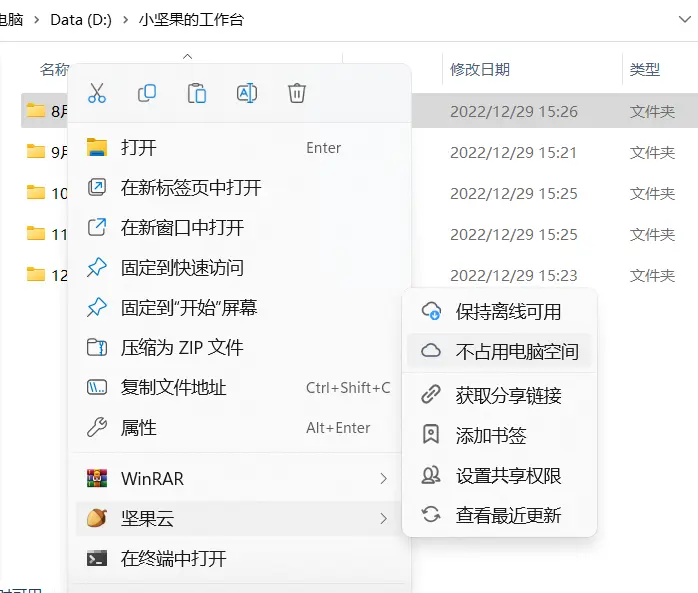
来源:官方帮助文档
Windows 右键文件夹后,有一个「保持离线可用」的功能。Mac 端没有。
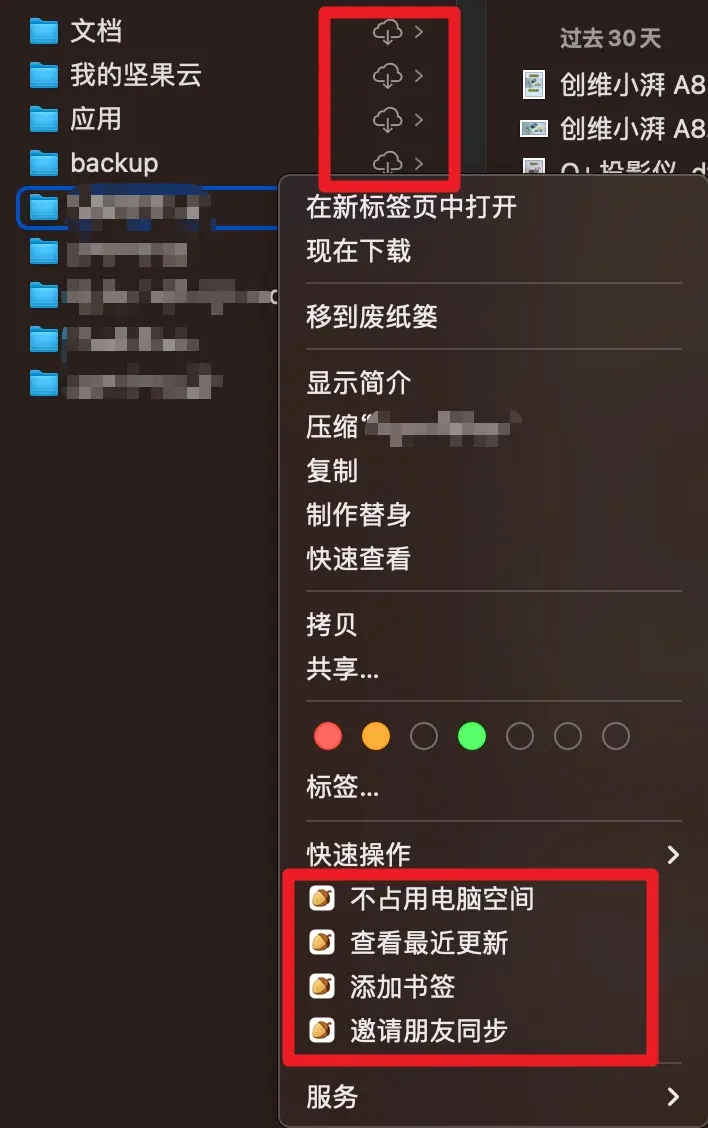
不过我现在打字的时候发现,文件夹右边的云朵图标,应该就是「保持离线」。当然我之前也是点过它的,知道点击后可以把文件从云端下载到电脑。但是我怎么感觉,过段时间,它又会自动删除……
看来我并没有记错,通过 知乎上其他网友 的吐槽,坚果云真的会自动关闭「保持离线」这个功能的。
总之刚才我就先点击云朵☁️图标,把图片都下载电脑后,打算不同步这个文件夹了,这样坚果云应该就不会老是去删除了吧。
于是我打开坚果云的主界面,选择这个文件夹,然后点击「取消同步」。
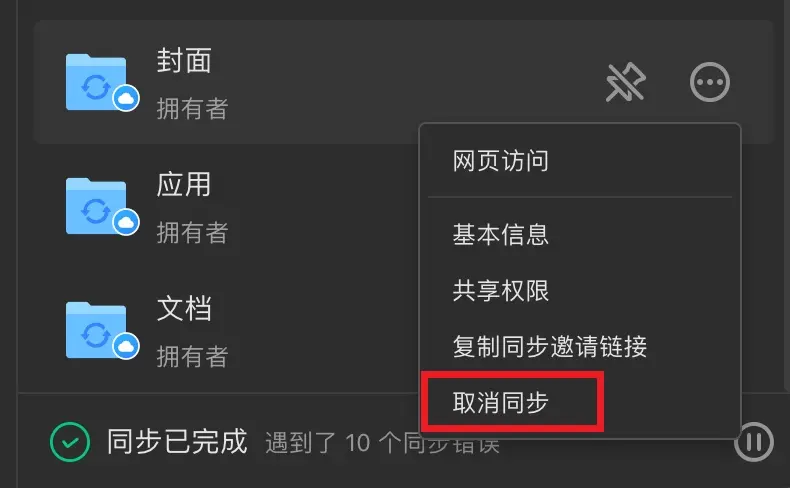
结果尴尬的事情发生了,坚果云直接把这个文件夹里面的内容,从我的电脑里面,完全删除。。。跟我预期的完全不一样呀,我以为「取消同步」就是坚果云你以后不要再去管这个文件夹了。
但是软件它好像觉得,我不想要这个文件夹在我的电脑里了,有些无语。
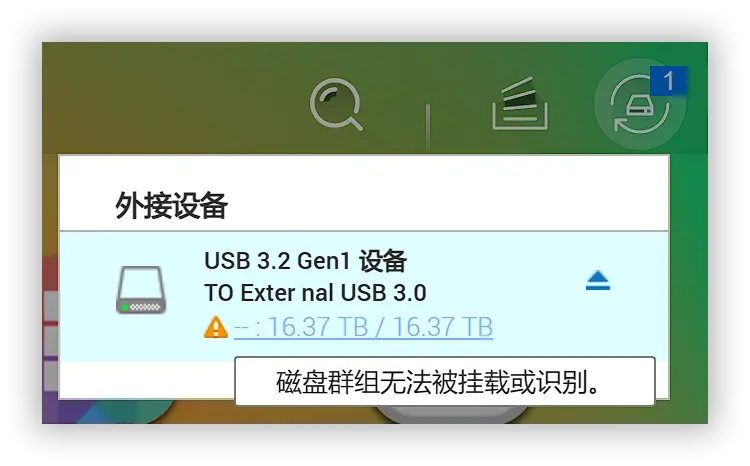
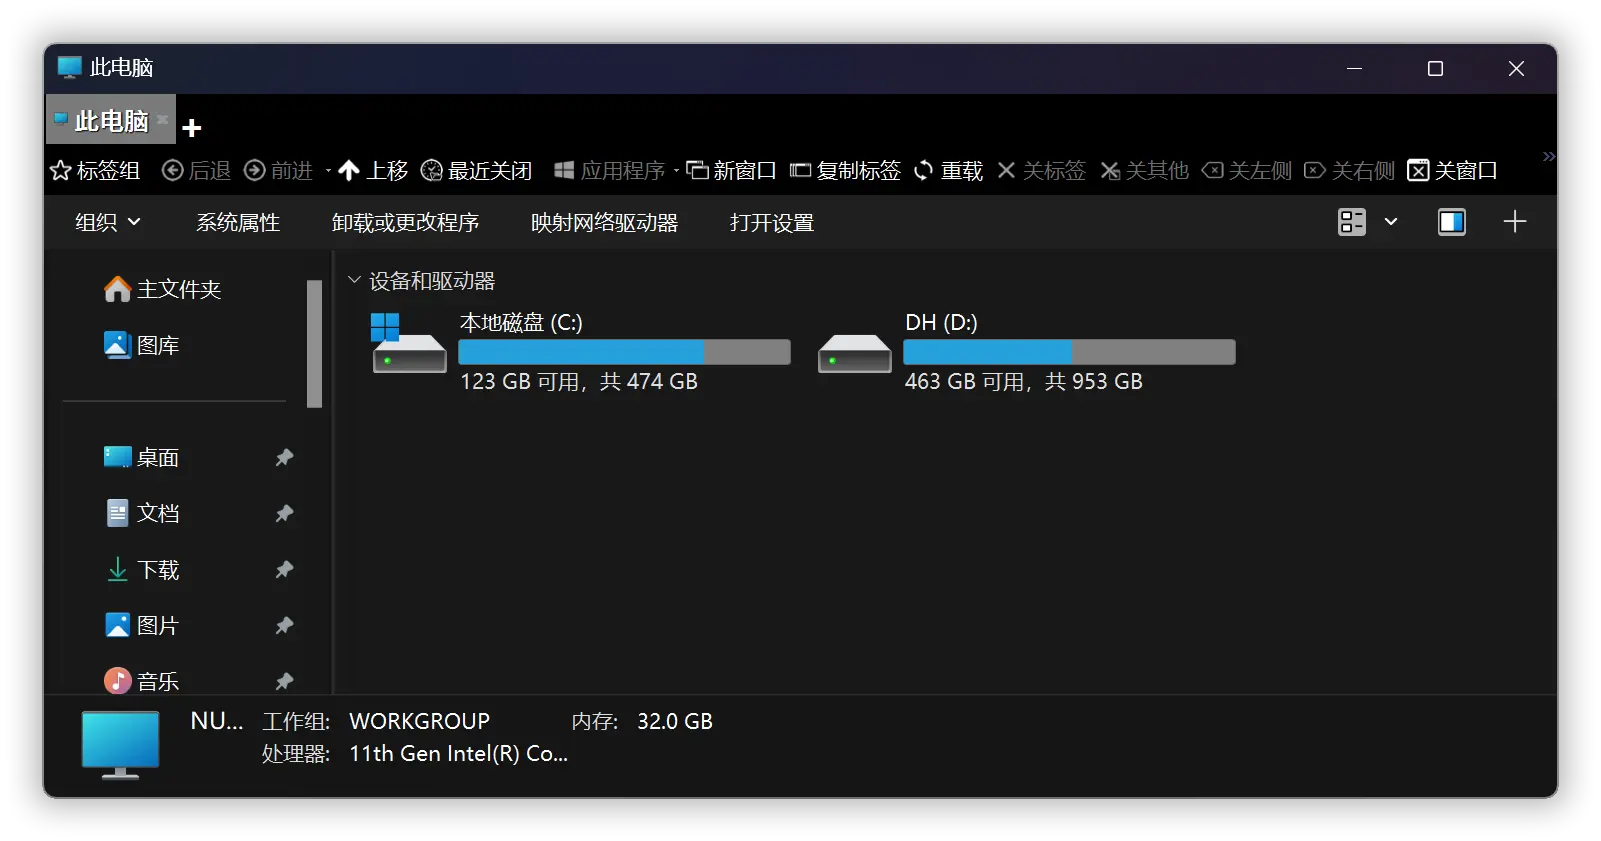
没办法,我只能再次同步回来。这次就点击文件夹后面的云朵图标,希望它不会再删除我电脑里的图片吧。不过我也感觉这些图片只备份到坚果云,不怎么安全,说不定哪天又一个误操作,只能电脑和云端都删除了,所以还是复制一份到 NAS 里吧。
]]>